Introduction
Web 기반 사용자 interface Kubernetes Dashboard를 구축해보자!
이를 통해 사용자는 container화 된 application을 Kubernetes cluster 내에 배포하고, 문제를 진단하며, 클러스터 자원을 관리할 수 있다.
- Resource Monitoring: 라이브 node 정보, CPU 및 memory 사용량과 같은 cluster의 핵심 지표 모니터링
- Application 배포: Web interface를 사용하여 application 배포 및 관리
- 문제 진단: Log, event 및 cluster resource 정보를 확인하여 application의 문제 파악 및 진단
- Object 관리: Deployments, Jobs, DaemonSets 등과 같은 Kubernetes object의 생성, 수정 및 삭제
Installation
1
| $ wget https://raw.githubusercontent.com/kubernetes/dashboard/v2.6.1/aio/deploy/recommended.yaml
|
Traefik을 통해 ingress 설정을 진행할 예정이므로 아래와 같이 HTTPS를 비활성화한다.
k8s-dashboard.yaml1
2
3
4
5
6
7
8
9
10
11
12
13
14
15
16
17
18
19
20
21
22
23
24
25
26
27
28
29
30
31
32
33
34
35
36
37
38
39
40
41
42
43
44
45
46
47
48
49
50
51
52
53
54
55
56
57
58
59
60
| kind: Service
...
metadata:
...
name: kubernetes-dashboard
namespace: kubernetes-dashboard
spec:
ports:
- port: 80
targetPort: 9090
selector:
k8s-app: kubernetes-dashboard
...
---
...
kind: Deployment
...
metadata:
...
name: kubernetes-dashboard
namespace: kubernetes-dashboard
spec:
...
template:
...
spec:
...
containers:
- name: kubernetes-dashboard
...
ports:
- containerPort: 9090
protocol: TCP
args:
- --namespace=kubernetes-dashboard
- --enable-skip-login=false
- --enable-insecure-login=true
...
livenessProbe:
httpGet:
scheme: HTTP
path: /
port: 9090
...
|
1
2
| $ kubectl create ns kubernetes-dashboard
$ kubectl apply -f k8s-dashboard.yaml
|
Kubernetes dashboard의 설치는 모두 끝났다!
Ingress
${DDNS}/k8s에 dashboard가 서비스되는 것을 위해 아래와 같이 ingress를 구축한다.
traefik.yaml1
2
3
4
5
6
7
8
9
10
11
12
13
14
15
16
17
18
19
20
21
22
23
24
25
26
27
28
29
30
31
32
33
34
35
36
37
38
39
40
| apiVersion: traefik.containo.us/v1alpha1
kind: Middleware
metadata:
name: kubernetes-dashboard-redirection-mw
namespace: kubernetes-dashboard
spec:
redirectRegex:
regex: "^https://${DDNS}/k8s$$"
replacement: "https://${DDNS}/k8s/#/"
permanent: true
---
apiVersion: traefik.containo.us/v1alpha1
kind: Middleware
metadata:
name: kubernetes-dashboard-strip-mw
namespace: kubernetes-dashboard
spec:
stripPrefix:
prefixes:
- "/k8s"
---
apiVersion: traefik.containo.us/v1alpha1
kind: IngressRoute
metadata:
name: kubernetes-dashboard
namespace: kubernetes-dashboard
spec:
entryPoints:
- websecure
routes:
- match: Host(`${DDNS}`) && PathPrefix(`/k8s`)
kind: Rule
middlewares:
- name: kubernetes-dashboard-redirection-mw
- name: kubernetes-dashboard-strip-mw
services:
- name: kubernetes-dashboard
port: 80
tls:
certResolver: ${RESOLVER}
|
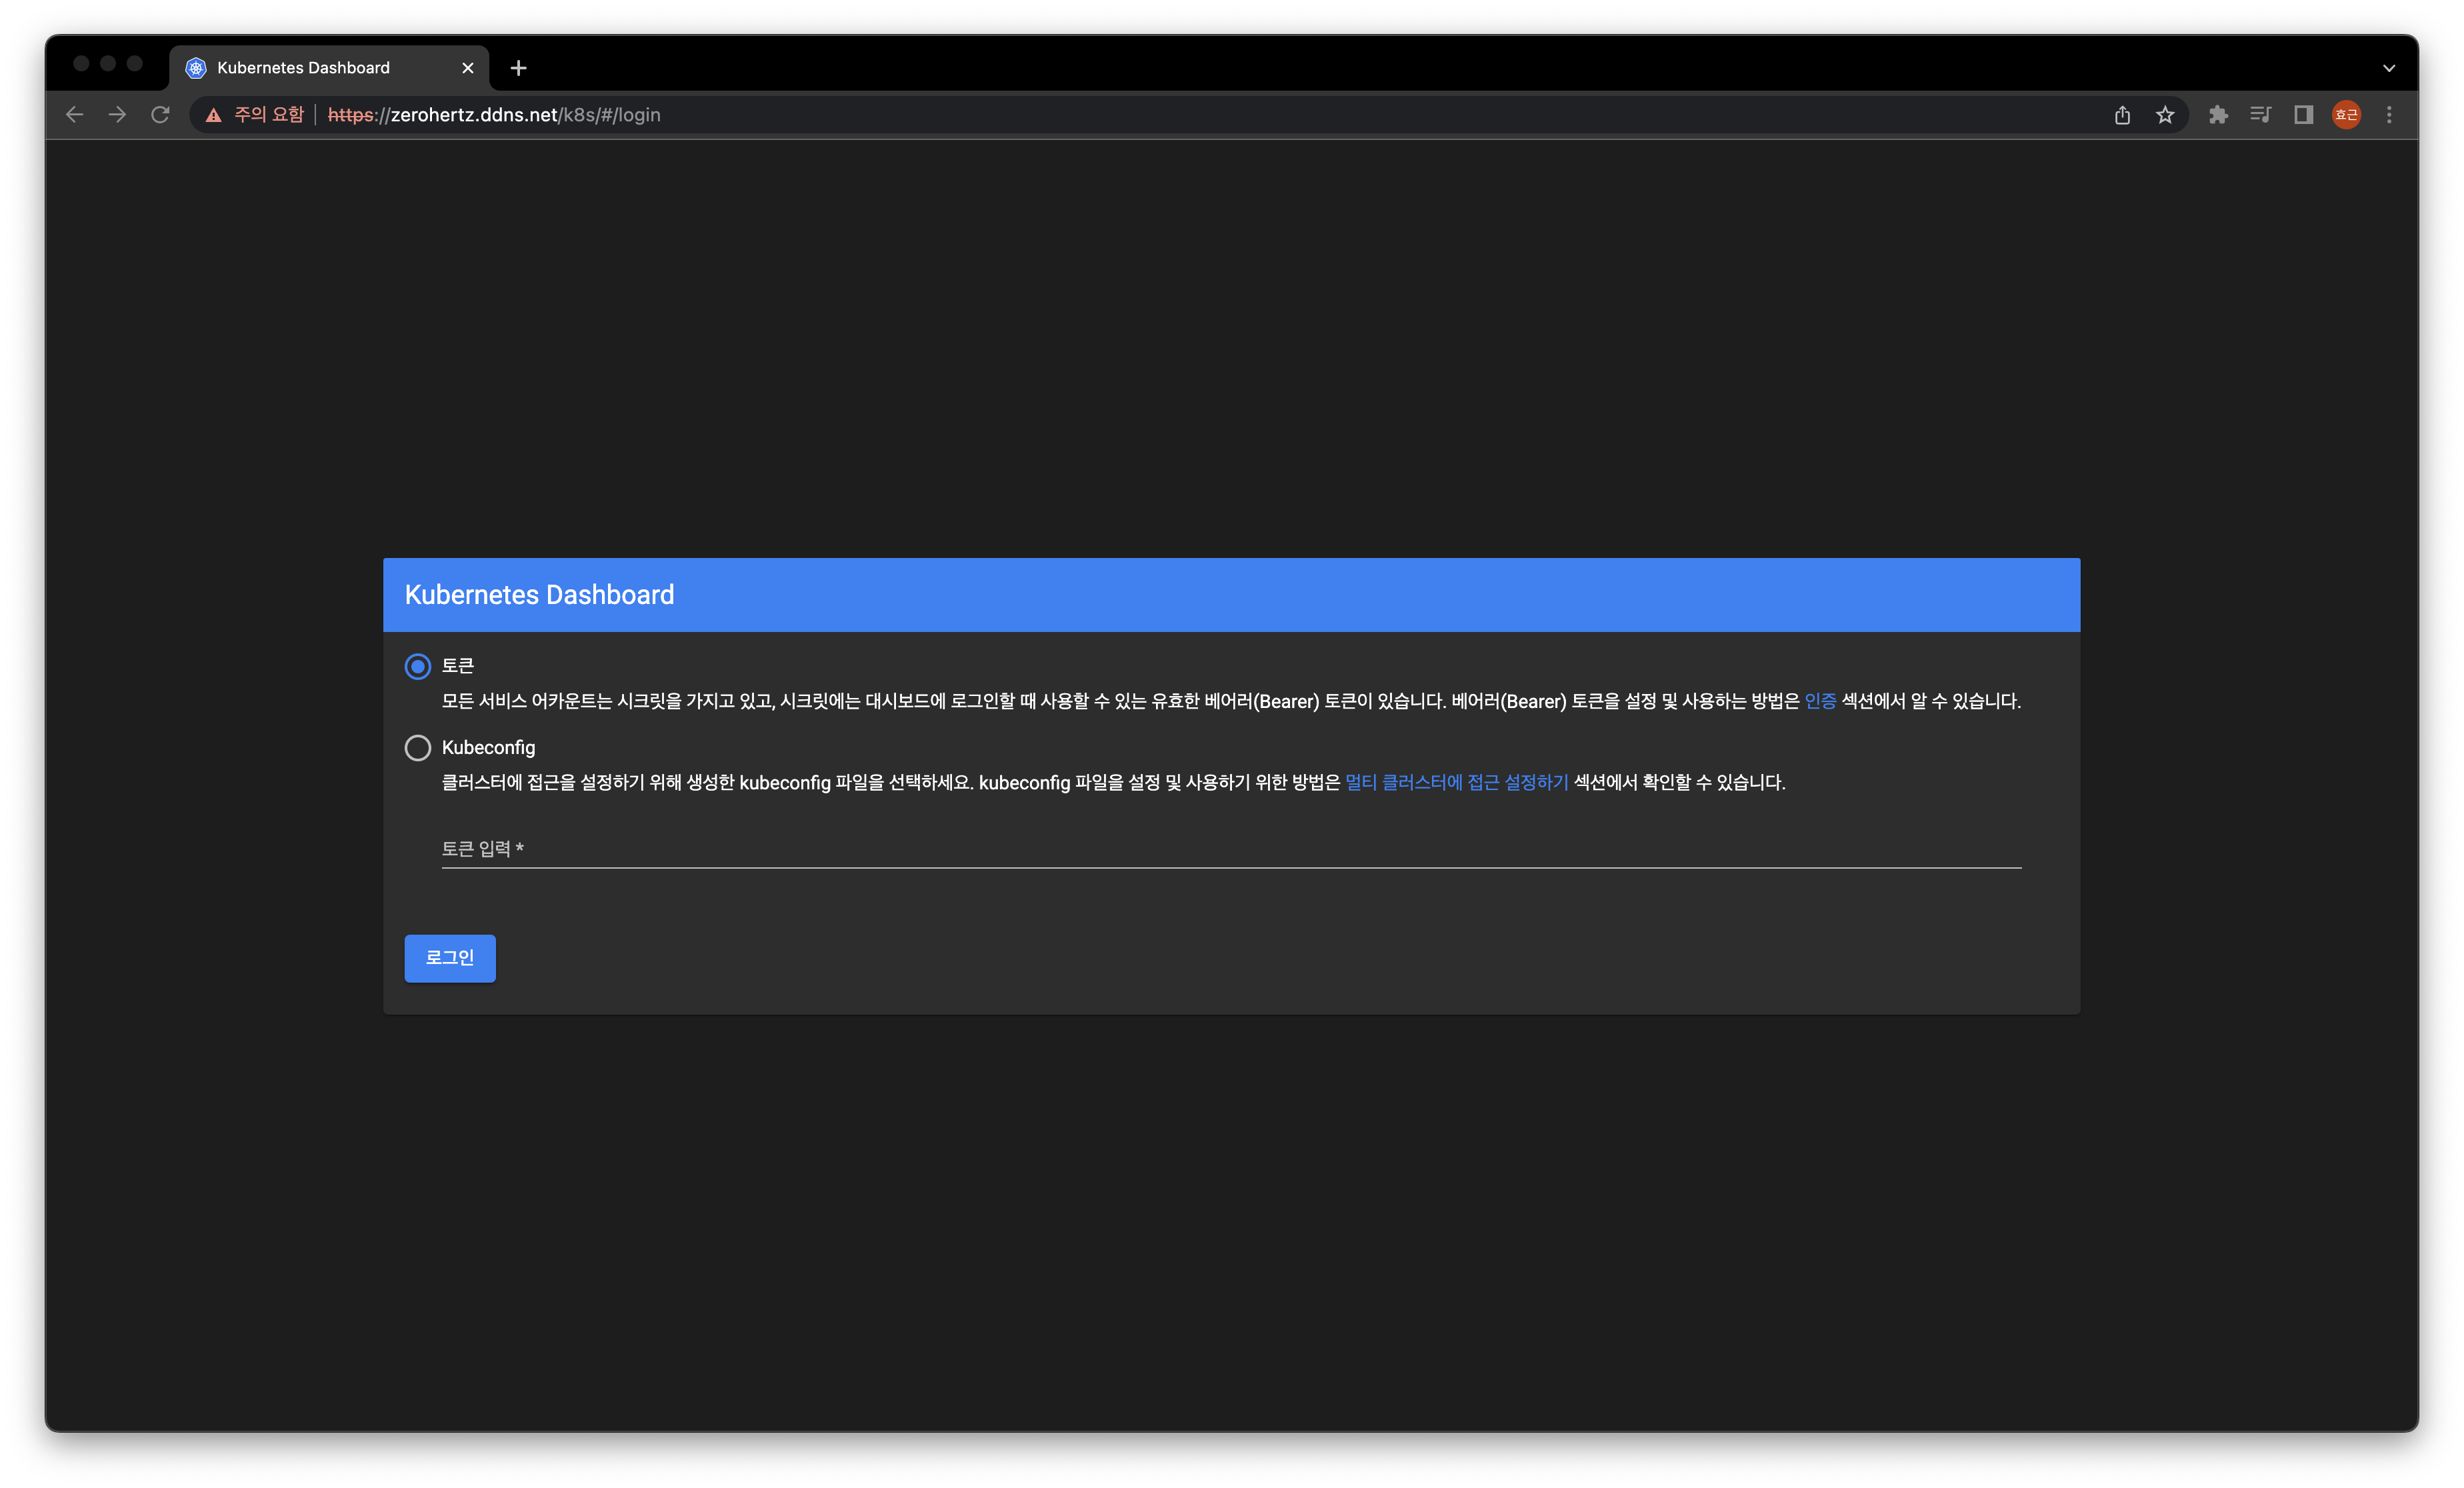
Ingress도 잘 되는 것을 확인할 수 있다!
Tada!
아래의 코드를 통해 사용자를 생성하고, 토큰 값을 가져올 수 있다.
user.yaml1
2
3
4
5
6
7
8
9
10
11
12
13
14
15
16
17
18
19
20
21
22
23
24
25
26
27
28
29
30
31
32
33
34
35
36
37
| apiVersion: v1
kind: ServiceAccount
metadata:
name: admin-user
namespace: kube-system
---
apiVersion: rbac.authorization.k8s.io/v1
kind: ClusterRoleBinding
metadata:
name: admin-user
roleRef:
apiGroup: rbac.authorization.k8s.io
kind: ClusterRole
name: cluster-admin
subjects:
- kind: ServiceAccount
name: admin-user
namespace: kube-system
---
apiVersion: v1
kind: ServiceAccount
metadata:
name: client-user
namespace: kube-system
---
apiVersion: rbac.authorization.k8s.io/v1
kind: ClusterRoleBinding
metadata:
name: client-user
roleRef:
apiGroup: rbac.authorization.k8s.io
kind: ClusterRole
name: view
subjects:
- kind: ServiceAccount
name: client-user
namespace: kube-system
|
1
2
3
4
5
6
7
| $ kubectl apply -f user.yaml
# ---------------------------- ADMIN ----------------------------
$ kubectl -n kube-system describe secret $(kubectl -n kube-system get secret | grep admin-user | awk '{print $1}')
4tdXNlc...
# ---------------------------- CLIENT ----------------------------
$ kubectl -n kube-system describe secret $(kubectl -n kube-system get secret | grep client-user | awk '{print $1}')
WUiOiJj...
|
이 토큰을 원하는 권한에 맞춰 입력하면 ~
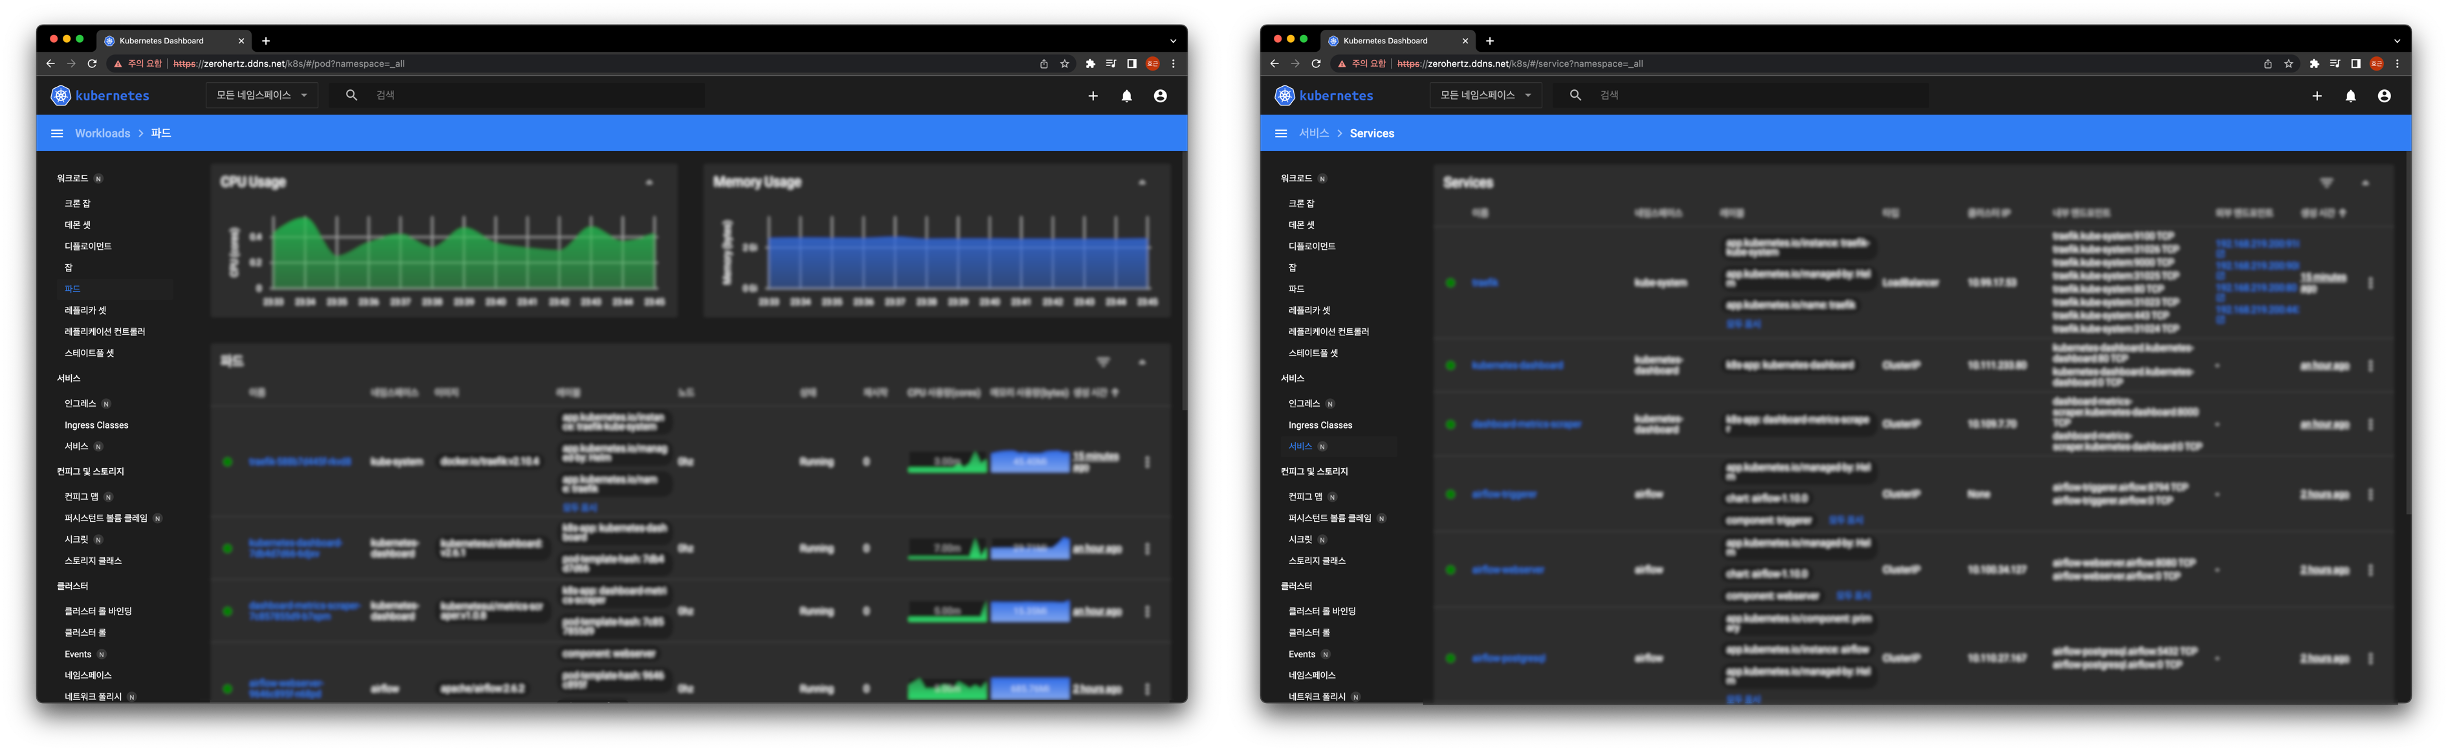
완성!