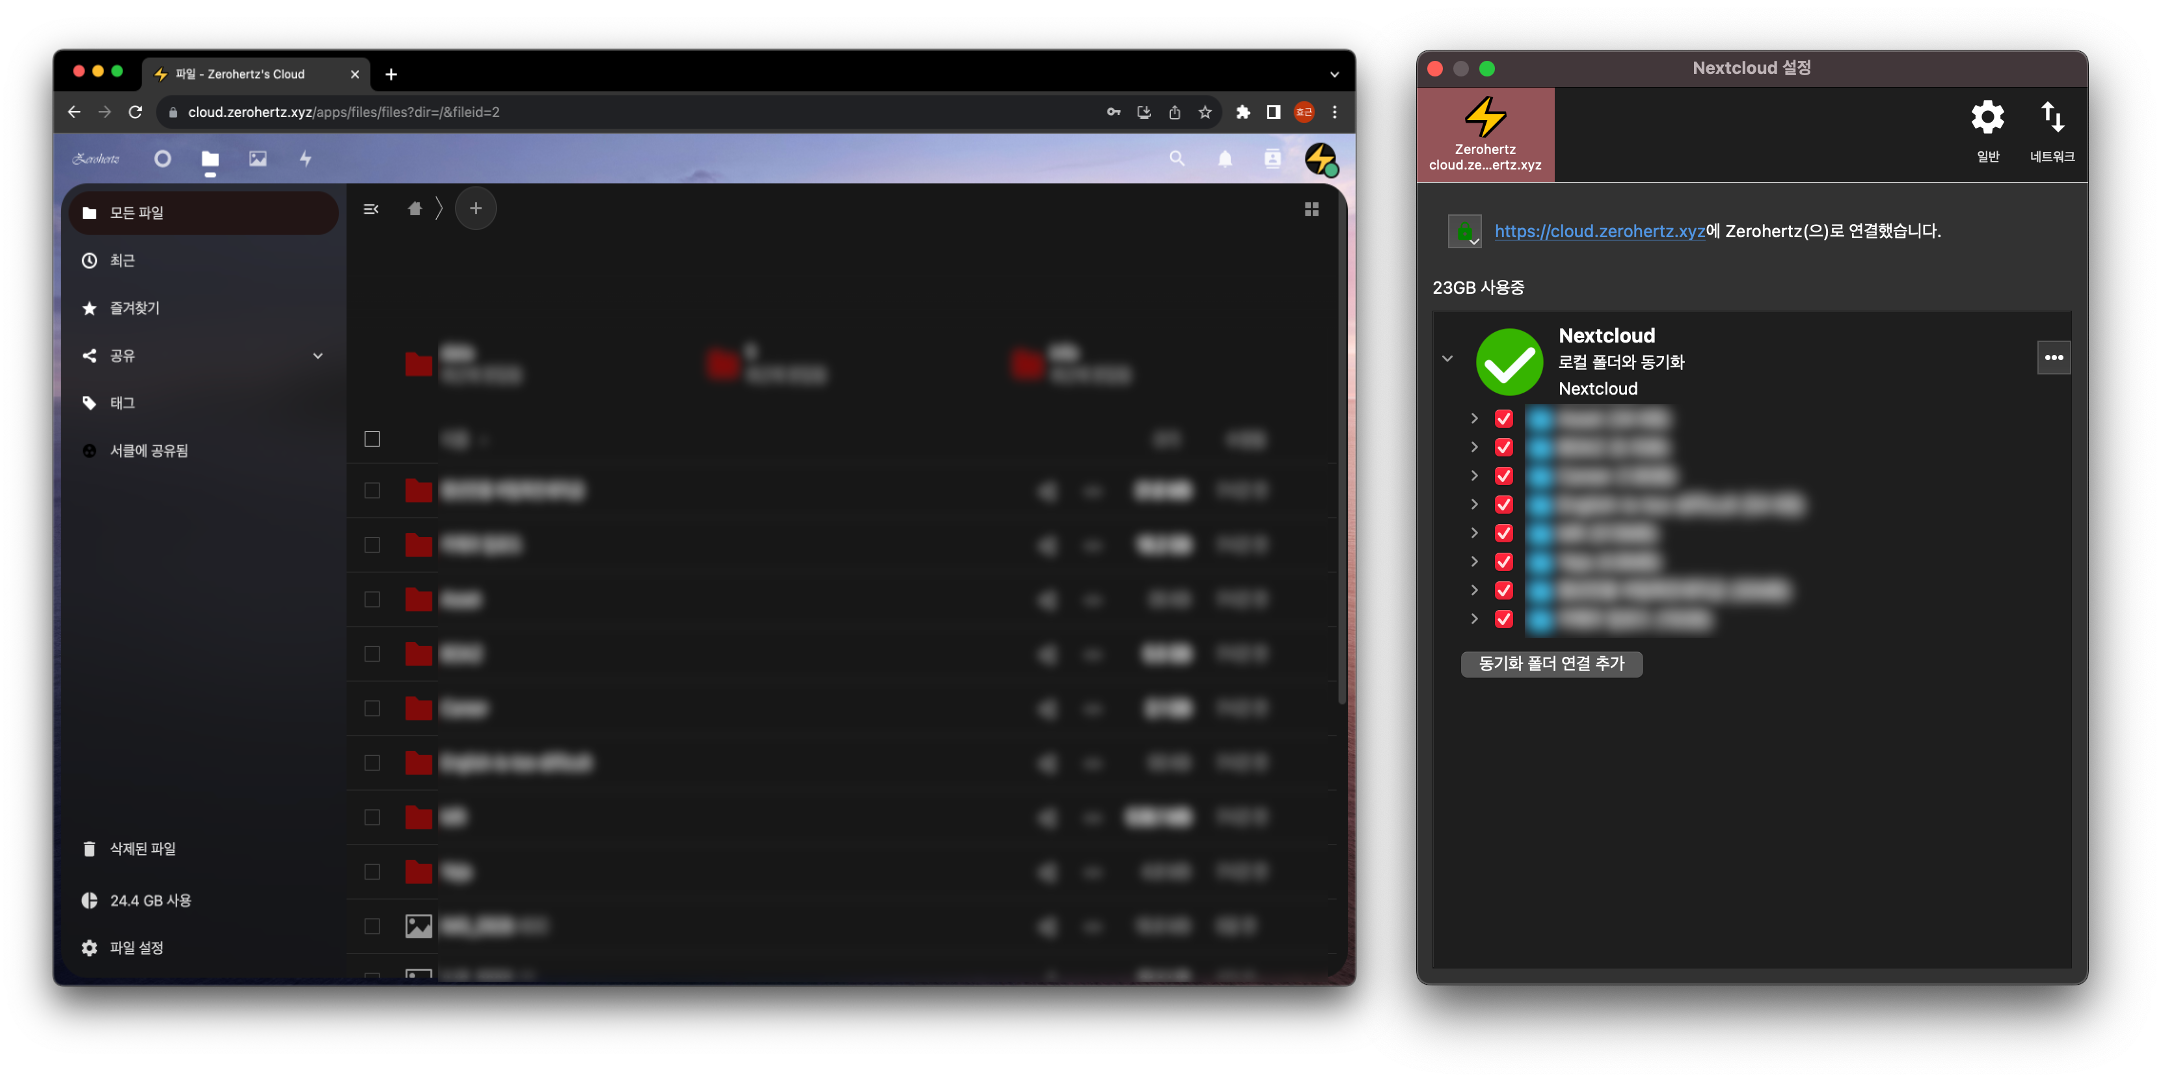
Introduction Dropbox 와 같은 cloud storage service를 Kubernetes로 배포하기 위해 Nextcloud 을 사용한다!
Setup Storage Cloud “storage”이기 때문에 K8s에서 사용할 StorageClass, PersistentVolume, PersistentVolumeClaim을 모두 정의해줘야한다.
nextcloud-pvc: Nextcloud에서 설정하는 여러 파일들이 저장될 곳nextcloud-data-pvc: 사용자가 사용할 저장공간
storage.yaml 1 2 3 4 5 6 7 8 9 10 11 12 13 14 15 16 17 18 19 20 21 22 23 24 25 26 27 28 29 30 31 32 33 34 35 36 37 38 39 40 41 42 43 44 45 46 47 48 49 50 51 52 53 54 55 56 57 58 59 60 apiVersion: storage.k8s.io/v1 kind: StorageClass metadata: name: nextcloud-storage provisioner: kubernetes.io/no-provisioner volumeBindingMode: WaitForFirstConsumer --- apiVersion: v1 kind: PersistentVolume metadata: name: nextcloud-pv spec: storageClassName: nextcloud accessModes: - ReadWriteOnce capacity: storage: 10Gi hostPath: path: "/${PATH}/nextcloud/etc" persistentVolumeReclaimPolicy: Retain --- apiVersion: v1 kind: PersistentVolume metadata: name: nextcloud-data-pv spec: storageClassName: nextcloud accessModes: - ReadWriteOnce capacity: storage: 600Gi hostPath: path: "/${PATH}/nextcloud/data" persistentVolumeReclaimPolicy: Retain --- apiVersion: v1 kind: PersistentVolumeClaim metadata: name: nextcloud-pvc namespace: nextcloud spec: storageClassName: nextcloud accessModes: - ReadWriteOnce resources: requests: storage: 10Gi --- apiVersion: v1 kind: PersistentVolumeClaim metadata: name: nextcloud-data-pvc namespace: nextcloud spec: storageClassName: nextcloud accessModes: - ReadWriteOnce resources: requests: storage: 600Gi
Helm Nextcloud는 아래와 같이 Helm으로 간편히 수정 및 배포할 수 있다.helm show values로 설정할 수 있는 값들을 살펴볼 수 있다.
1
2
3
$ helm repo add nextcloud https://nextcloud.github.io/helm/ $ helm repo update $ helm show values nextcloud/nextcloud --version 3.5.22 > nextcloud-values.yaml
Traefik을 통해 HTTPS로 배포할 예정이라서 phpClientHttpsFix을 설정했고, 앞서 정의한 볼륨들을 StorageClass와 PVC의 이름에 맞게 설정한다.
values.yaml 1 2 3 4 5 6 7 8 9 10 11 12 13 14 15 16 17 18 nextcloud: username: ${USER} password: ${PASSWORD} phpClientHttpsFix: enabled: true protocol: https persistence: enabled: true storageClass: nextcloud-storage existingClaim: nextcloud-pvc accessMode: ReadWriteOnce size: 10Gi nextcloudData: enabled: true storageClass: nextcloud-storage existingClaim: nextcloud-data-pvc accessMode: ReadWriteOnce size: 600Gi
Traefik Ingress는 service port인 8080을 websecure로 정의했다.
traefik.yaml 1 2 3 4 5 6 7 8 9 10 11 12 13 14 15 16 apiVersion: traefik.containo.us/v1alpha1 kind: IngressRoute metadata: name: nextcloud namespace: nextcloud spec: entryPoints: - websecure routes: - match: Host(`cloud.${DDNS}`) kind: Rule services: - name: nextcloud port: 8080 tls: certResolver: ${RESOLVER}
K8s 최종적으로 배포는 아래와 같이 진행하면 된다.
1
2
3
4
$ kubectl create namespace nextcloud $ kubectl apply -f storage.yaml $ helm upgrade --install nextcloud nextcloud/nextcloud -f values.yaml --namespace nextcloud --version 3.5.22 $ kubectl apply -f traefik.yaml
docker exec 혹은 PVC에서 지정한 경로로 이동해 아래 파일과 같이 본인의 DNS 혹은 DDNS를 신뢰할 수 있도록 정의하면 끝이다.
etc/config/config.php 1 2 3 4 5 6 7 ... array ( 0 => 'localhost' , 1 => 'nextcloud.kube.home' , 2 => 'cloud.${DDNS}' , ), ...
Hands-on 생각보다 편하게 잘 되어있다.
PostgreSQL 따로 backend를 설정해주지 않으면 Nextcloud는 SQLite를 사용한다.
values.yaml 1 2 3 4 5 6 7 8 9 10 11 12 13 14 15 16 17 18 19 20 postgresql: enabled: true global: postgresql: auth: username: ${USERNAME} password: ${PASSWORD} database: nextcloud primary: initContainers: - name: volume-permissions image: busybox command: ["sh" , "-c" , "chown -R 1001:100 /var/lib/postgresql/data" ] volumeMounts: - name: data mountPath: /var/lib/postgresql/data persistence: enabled: true storageClass: nextcloud-storage existingClaim: nextcloud-backend-pvc
그리고 Nextcloud container에 접속해서 아래 명령어를 실행하고 DB의 비밀번호를 입력하면 끝이다.
1
2
$ docker exec -it -u www-data k8s_nextcloud_nextcloud-..._nextcloud_... bash $ php occ db:convert-type --clear-schema pgsql ${USERNAME} ${HOST} ${DB_NAME}
는 삽질 5시간은 한듯…


